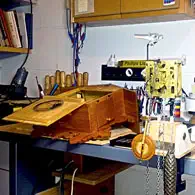
 No, of course I’m not a “would-be watchmaker”! But when turned or carved parts of old watch cases have been lost, I have often been able to help some friends. A particularly nice challenge was the complete replica of an animated cuckoo.
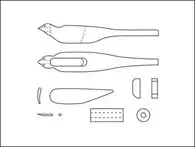 I was able to create the working drawing (Figure 2), which shows all the required wooden parts in two views, based on the model of an old Black Forest cuckoo clock.
The cross sections of the required wooden strips are derived from this drawing (Table 1). Linden wood was used as the material. Yelutong - for example from a household cutting board - would be an equivalent alternative.
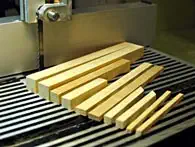 A small band saw is best suited for material-saving cutting (Figure 3).
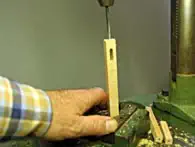
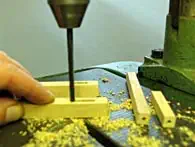 Pictures 4 and 5: The required holes and recesses in the bird's body are made using a pillar drill as long as the workpiece still has flat surfaces. This is the best way to ensure the desired symmetry and squareness.
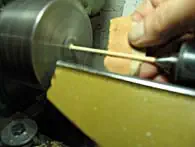
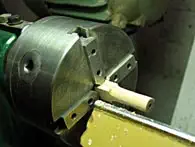 The branch on which the cuckoo is to sit and a blank for the bottom of the beak can be turned cylindrically on a small lathe, as shown in pictures 6 and 7. If this is not available, a little more carving and sanding work is required.
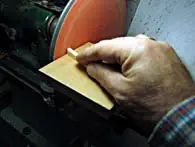 Figure 8: The cuckoo's “chest area” is rounded off. In order to make it easier to process the small particles, it is generally important to only separate the rest of the strip from the workpiece at the end of processing and to use it as a handle for as long as possible.
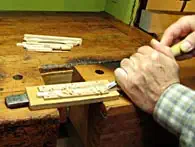 Figure 9: The strip from which the wings are to be made receives its aerodynamic profile.
For this purpose, the workpiece was wedged into a holding device made from waste wood.
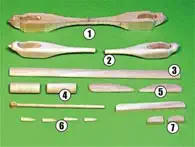 Figure 10 shows the required wooden parts in various stages of processing.
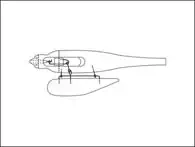 How the individual parts are to be connected using wire eyelets so that the cuckoo flaps its wings and opens its beak is shown in the drawing in Figure 11, which was also made based on the model of the quail that still exists. To make the drawing clearer, only one wing with the associated connecting wires was drawn.
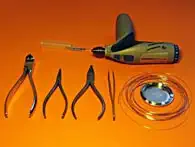 Figure 12 shows everything that is needed for the following “wiring” of the cuckoo.
To ensure that everything doesn't hang by a thread during assembly, you should think ahead and proceed systematically.
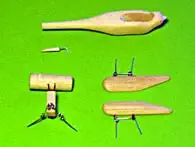 Figure 13 shows sensible pre-assembled modules.
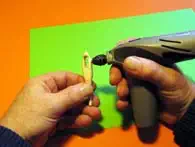 Figure 14: The new “toy”, the new “stylus”, is used to drill holes that match the wire thickness (approx. 0.4 mm). – Unfortunately, the machine only comes with a single collet, so you have to buy a suitable drill chuck for such work.
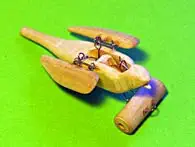 Picture 15: The bird is fully assembled. An initial functional test shows whether work has been carried out patiently and precisely: the wing beat should be even on both sides and the beak should open wide. Otherwise, only diligent but careful bending will help.
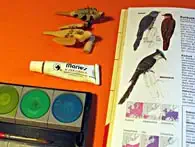 Image 16: You don't have to be an artist or ornithologist to paint the shy bird that lives most of the time hidden in the clock case. Using a few illustrations as reference material, you should try to identify typical color characteristics and exaggerate them as much as possible. In a cuckoo, this is likely to particularly affect the striped chest area.
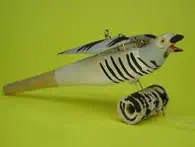 Picture 17: The paint has dried and the cuckoo can move into the clock case (see picture 1).
As a little exercise to improve my English skills, I wrote instructions in English for the Cuckoo Project:


